


Best Camera Settings for the Mara River Crossing
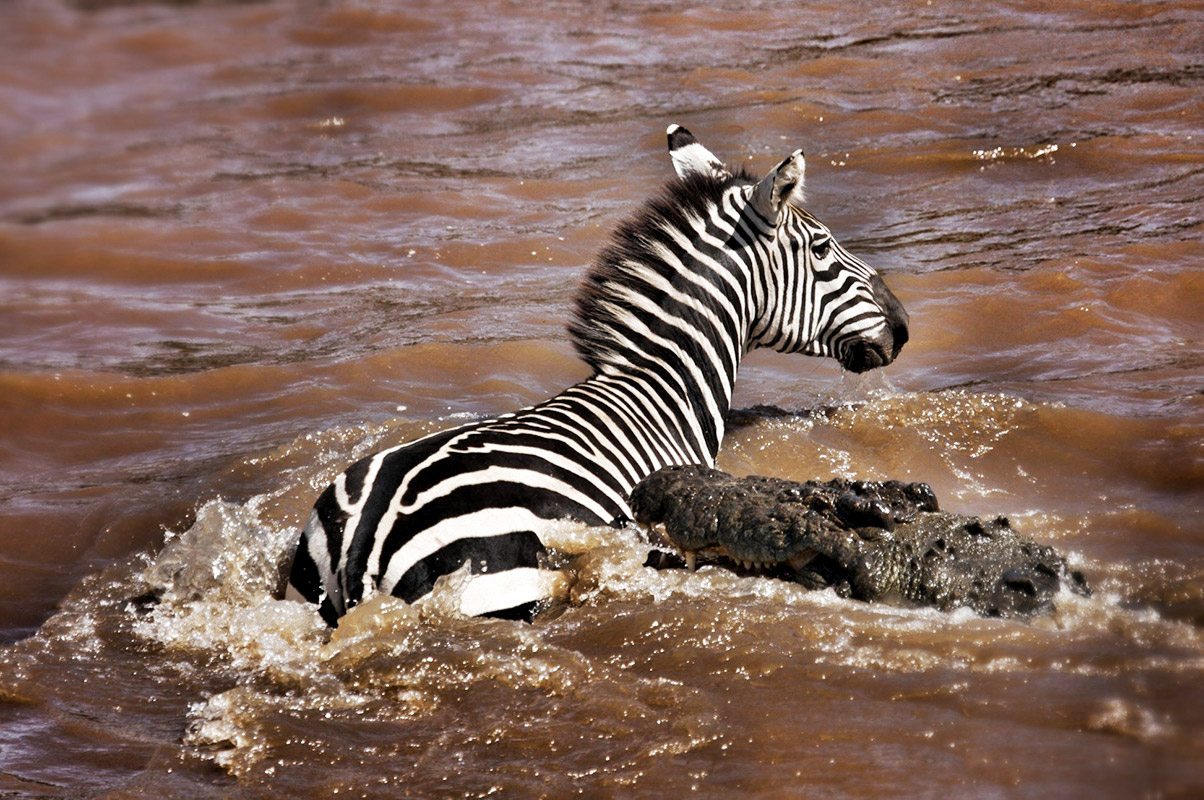
Photographing a Mara River crossing is one of the most technically demanding wildlife scenarios you will face on safari. The action is fast, chaotic, dusty, and often unfolds in unpredictable bursts. You are dealing with running herds, splashing water, changing light, and constantly shifting subjects—all within seconds.
To get sharp, well-exposed, and compelling images, your camera settings must be pre-configured before the crossing begins. There is no time to adjust once the herd commits.
These recommendations are based on field practice in the Maasai Mara National Reserve and Serengeti National Park, where river crossings are most intense.
Shutter Speed: Freeze the Chaos
Shutter speed is the most critical setting during a river crossing.
You are photographing running wildebeest, jumping bodies, splashing water, and sometimes predator attacks. If your shutter speed is too slow, everything becomes blurred and unusable.
Use a minimum of 1/1600 second for general crossing action. Increase to 1/2000 or even 1/2500 if light allows, especially when animals are leaping into the river or climbing steep banks.
If you intentionally want motion blur for artistic effect, drop to around 1/60 to 1/125 and pan with the movement—but this requires practice and should not be your default.
For most situations, prioritize sharpness.
Aperture: Balance Light and Depth
Aperture controls how much of the scene stays in focus.
During a crossing, multiple animals are often moving at different distances. You need enough depth of field to keep key subjects sharp.
Set your aperture between f/5.6 and f/8.
At f/5.6, you get better light intake and faster shutter speeds, but slightly shallower depth of field. At f/8, you gain more overall sharpness across the scene, which is useful when photographing groups.
Avoid very wide apertures like f/2.8 unless you are isolating a single subject.
ISO: Adapt to Changing Light
Light conditions at river crossings change rapidly due to dust, clouds, and water reflections.
Start with ISO 400 to 800 in good light. Increase to ISO 1000–1600 if the sky becomes overcast or if dust reduces visibility.
Modern cameras handle higher ISO well, and a slightly grainy sharp image is far better than a blurred clean one.
Do not hesitate to push ISO when needed to maintain fast shutter speeds.
Autofocus Mode: Track Constant Movement
Autofocus settings are critical because subjects are constantly moving toward, away from, and across your frame.
Use continuous autofocus mode (AI Servo on Canon, AF-C on Nikon/Sony).
Set your camera to subject tracking or dynamic area autofocus. This allows the camera to follow moving animals across the frame.
For best results, use a central focus point or a small cluster of points. Wide-area autofocus can struggle in chaotic scenes with many moving subjects.
Keep your focus locked on the leading animals or the most active part of the crossing.
Drive Mode: Shoot in Bursts
River crossings happen fast and unpredictably.
Use high-speed continuous shooting (burst mode) to capture sequences of action. This increases your chances of getting the perfect moment—whether it is a leap, a splash, or a dramatic interaction.
However, do not hold the shutter continuously without purpose. Shoot in controlled bursts when action peaks.
This helps manage memory usage and makes post-processing easier.
Metering and Exposure Control
Lighting at river crossings can be tricky due to reflections from water and dust in the air.
Use evaluative or matrix metering as a base setting. However, be ready to adjust exposure compensation.
If scenes look too bright due to water reflection, reduce exposure slightly (−0.3 to −0.7 EV). If dust or clouds darken the scene, increase exposure slightly.
Check your histogram regularly to avoid blown highlights, especially on water surfaces.
White Balance: Keep It Natural
Set white balance to auto for flexibility, especially as conditions change quickly.
If you prefer consistency, use daylight mode in stable lighting conditions.
Dust can create warm tones, while overcast skies can cool your images. Shooting in RAW allows you to adjust white balance later without losing quality.
Image Stabilization and Support
Even with fast shutter speeds, stability matters.
Use image stabilization if your lens has it. In safari vehicles, a beanbag is highly recommended to steady long lenses on window frames or roof edges.
Avoid handholding heavy telephoto lenses for extended periods, as fatigue will affect sharpness.
Composition Strategy During Crossings
Settings alone are not enough. You must also think about composition.
Focus on:
Entry points where animals jump into the river
Exit points where they struggle up steep banks
Clusters of animals interacting or colliding
Water splashes and movement patterns
Avoid overcrowded frames with no focal point. Try to isolate moments within the chaos.
Pre-Set Before the Action Starts
The most important professional tip is preparation.
Crossings rarely happen instantly. Herds gather, hesitate, and move back and forth before committing.
Use this waiting time to:
Set your shutter speed, aperture, and ISO
Test exposure on nearby subjects
Position your vehicle for the best angle
Choose your focal length
Once the crossing begins, you should only focus on framing and timing—not changing settings.
Recommended Baseline Settings
For quick reference, a strong starting setup is:
Shutter speed: 1/1600 to 1/2000
Aperture: f/5.6 to f/8
ISO: 400–1600 depending on light
Autofocus: Continuous (AF-C / AI Servo)
Drive mode: High-speed burst
Adjust from this baseline based on conditions.
Photographing a Mara River crossing is about preparation, speed, and control. The action is intense but short-lived, and the best images come from photographers who are ready before it starts.
Your goal is to freeze motion, maintain focus, and capture the energy of thousands of animals moving through one of nature’s most dramatic obstacles.
With the right settings and positioning, you can turn chaotic movement into powerful, story-driven images that define the Great Migration experience.